
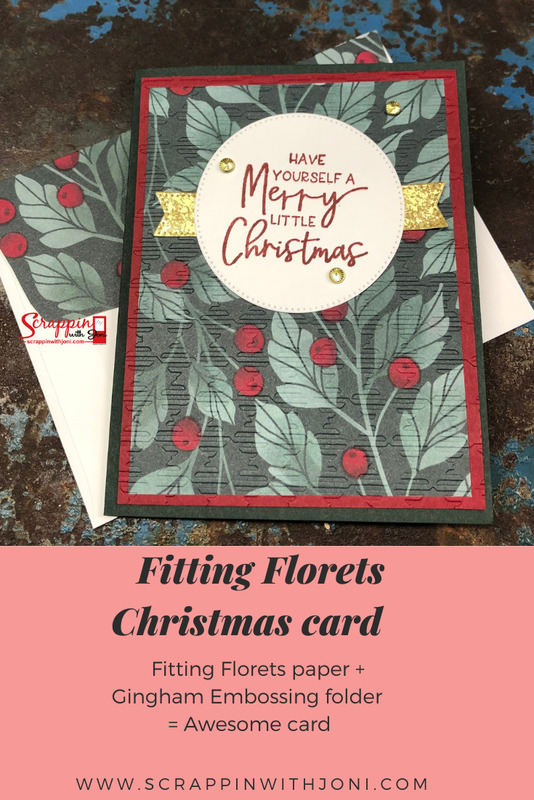
T his pretty Christmas card was made with the Fitting Florets paper, a Blends marker, and my all-time favorite Gingham embossing folder.
Project Recipe
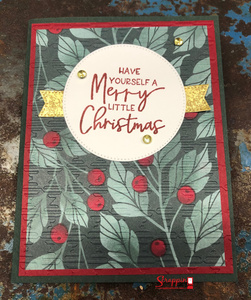
Card Base: Cut Evening Evergreen 8 ½ X 11 paper in half widthwise. You now have two pieces 8 ½ X 5 ½ Fold one of the pieces in half lengthwise for your card front. The card front now measures 4 ¼ X 5 ½.
Card Mat: Cut Cherry Cobbler paper 4 X 5 ¼.
Card Front: Cut print paper from Fitting Florets paper pack 3 ¾ X 5.
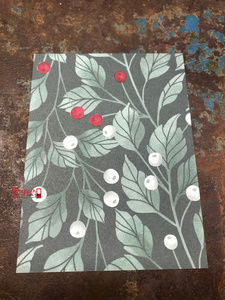
Use a Cherry Cobbler Blends marker to color the white berries red. Doesn’t that make this pretty paper even more festive?

Attach card front print paper to Cherry Cobbler card mat. Emboss the card front/card mat with the Gingham embossing folder. Attach the embossed piece to the Evening Evergreen card base.
Use the smallest narrow banner from Stylish Shapes Dies to cut a banner piece from Distressed Gold paper. Cut the banner piece in half so you have two pieces each measuring approximately 1 ⅜” long.
Cut a circle from Basic White using a 2 ½” circle from Stylish Shapes Dies. Stamp circle with Cherry Cobbler ink. I used the Framed & Festive stamp set. Attach a banner piece to each side of the stamped circle.
Attach a banner piece to the backside of the circle. Attach circle with banner pieces to the card front. Add 3 Gold Adhesive-Backed Swirls to the card front.

For the inside of your card, cut a piece of Basic White 4 X 5 ¼. Stamp a sentiment from Framed & Festive with Cherry Cobbler ink. Add a strip of print paper cut ½ X 4 to top of the card insert. Attach card insert inside the Evening Evergreen card base.
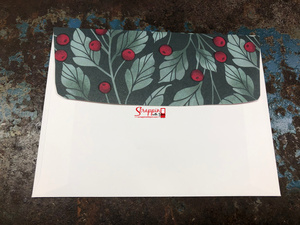
If you want to cover your envelope flap to match your card, you can find directions here: http://www.scrappinwithjoni.com/blogs/covering-your-envelope-flap
You can watch me make this card on my Scrappin With Joni YouTube channel: https://youtu.be/tBp81nVhJtI